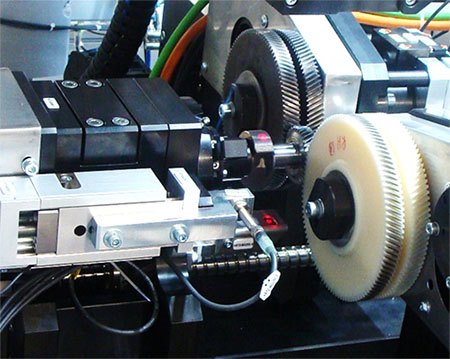
EWP Measuring principle
- The test piece is driven by a master gear and simultaneously subjected to a braking torque via another gear; As a result, the master gear rolls off with defined force onto the tooth flank
- Roll off both tooth flanks by changing the direction of rotation
- Define the axis distance between test piece and master gear (can be adjusted individually)
- Measure the rotational angle difference between the test piece and the master gear to draw conclusions about gearing errors Fi´, fi´ and flank play f´
ZWP Measuring principle
- The test piece is driven by the master gear;
- As a result, the master gear is pressed into both tooth flanks with a defined force
- Measure the change in axis distance between the test piece and the master gear to draw conclusions, mainly about concentricity deviations Fr´´ and gearing errors Fi´´, fi´´
Features
100% inspection with very short cycle time


